[알림] 알림 보내기
개요
시작하기 전에, 패키지가 설치되어 있는지 확인하세요 -
@livewire('notifications')가 Blade 레이아웃 어딘가에 있어야 합니다.
알림은 유창한 API를 통해 구성된 Notification 객체를 사용하여 전송됩니다. Notification 객체에서 send() 메서드를 호출하면 알림이 전송되어 애플리케이션에 표시됩니다. 세션을 사용하여 알림을 플래시하기 때문에, Livewire 컴포넌트뿐만 아니라 JavaScript를 포함한 코드 어디에서나 알림을 보낼 수 있습니다.
<?php

namespace App\Livewire;

use Filament\Notifications\Notification;
use Livewire\Component;

class EditPost extends Component
{
    public function save(): void
    {
        // ...

        Notification::make()
            ->title('성공적으로 저장되었습니다')
            ->success()
            ->send();
    }
}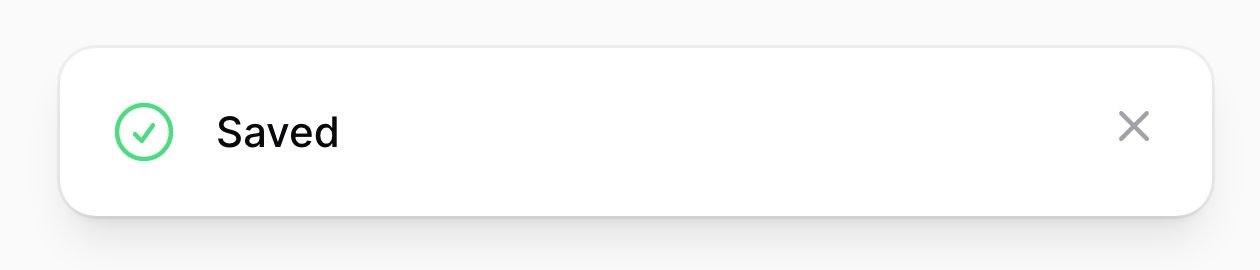
제목 설정하기
알림의 주요 메시지는 제목에 표시됩니다. 다음과 같이 제목을 설정할 수 있습니다:
use Filament\Notifications\Notification;

Notification::make()
    ->title('성공적으로 저장되었습니다')
    ->send();
제목 텍스트에는 기본적이고 안전한 HTML 요소를 포함할 수 있습니다. Markdown으로 안전한 HTML을 생성하려면 Str::markdown() 헬퍼를 사용할 수 있습니다: title(Str::markdown('Saved **successfully**'))
또는 JavaScript로:
new FilamentNotification()
    .title('성공적으로 저장되었습니다')
    .send()
아이콘 설정하기
선택적으로, 알림에는 아이콘을 추가할 수 있으며, 이는 내용 앞에 표시됩니다. 아이콘의 색상도 설정할 수 있으며, 기본값은 회색입니다:
use Filament\Notifications\Notification;

Notification::make()
    ->title('성공적으로 저장되었습니다')
    ->icon('heroicon-o-document-text')
    ->iconColor('success')
    ->send();
또는 JavaScript로:
new FilamentNotification()
    .title('성공적으로 저장되었습니다')
    .icon('heroicon-o-document-text')
    .iconColor('success')
    .send()
알림에는 종종 success, warning, danger 또는 info와 같은 상태가 있습니다. 해당 아이콘과 색상을 수동으로 설정하는 대신, 상태를 전달할 수 있는 status() 메서드가 있습니다. 또한 전용 success(), warning(), danger(), info() 메서드를 사용할 수도 있습니다. 위 예제를 정리하면 다음과 같습니다:
use Filament\Notifications\Notification;

Notification::make()
    ->title('성공적으로 저장되었습니다')
    ->success()
    ->send();
또는 JavaScript로:
new FilamentNotification()
    .title('성공적으로 저장되었습니다')
    .success()
    .send()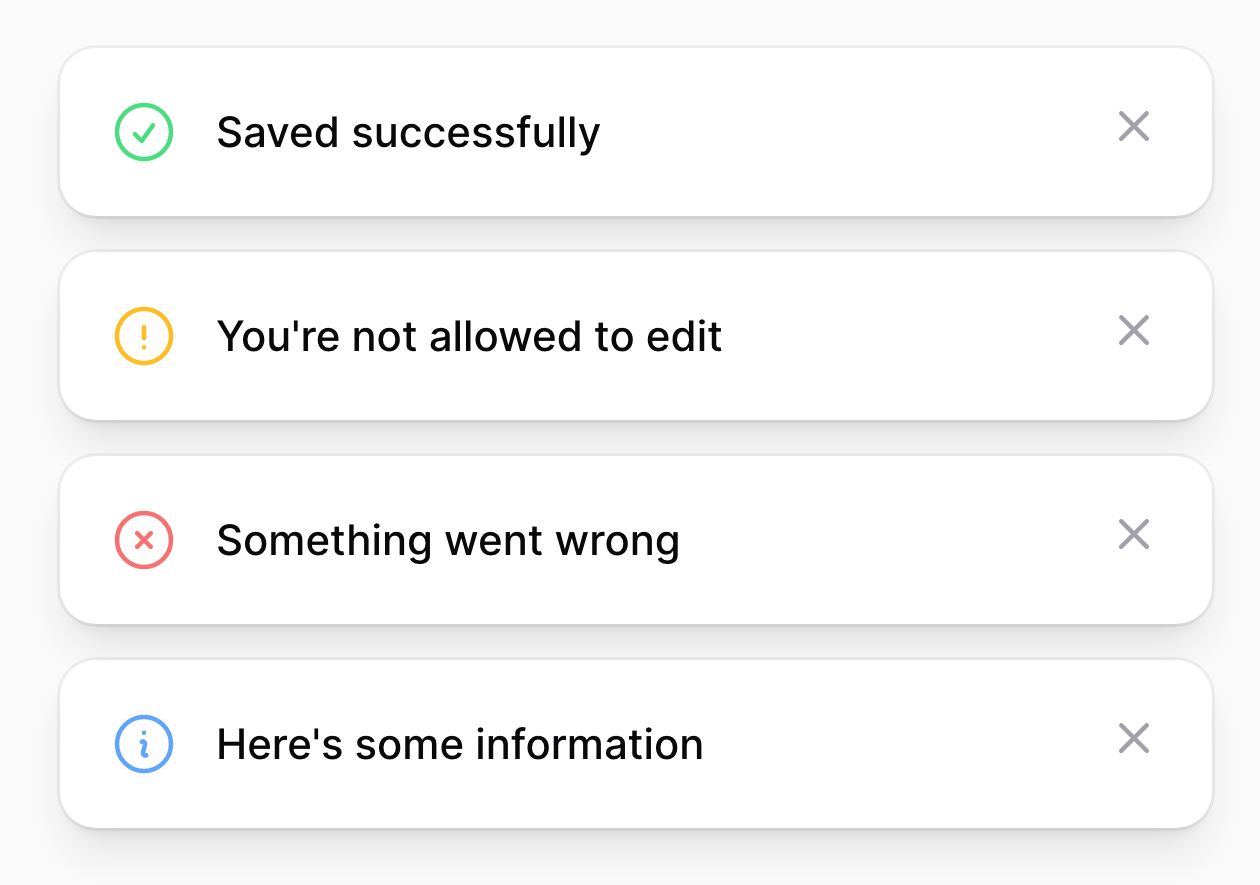
배경색 설정하기
알림은 기본적으로 배경색이 없습니다. 다음과 같이 색상을 설정하여 알림에 추가적인 맥락을 제공할 수 있습니다:
use Filament\Notifications\Notification;

Notification::make()
    ->title('성공적으로 저장되었습니다')
    ->color('success')
    ->send();
또는 JavaScript로:
new FilamentNotification()
    .title('성공적으로 저장되었습니다')
    .color('success')
    .send()
지속 시간 설정하기
기본적으로 알림은 6초 동안 표시된 후 자동으로 닫힙니다. 다음과 같이 밀리초 단위로 사용자 지정 지속 시간을 지정할 수 있습니다:
use Filament\Notifications\Notification;

Notification::make()
    ->title('성공적으로 저장되었습니다')
    ->success()
    ->duration(5000)
    ->send();
또는 JavaScript로:
new FilamentNotification()
    .title('성공적으로 저장되었습니다')
    .success()
    .duration(5000)
    .send()
밀리초 대신 초 단위로 지속 시간을 설정하고 싶다면 다음과 같이 할 수 있습니다:
use Filament\Notifications\Notification;

Notification::make()
    ->title('성공적으로 저장되었습니다')
    ->success()
    ->seconds(5)
    ->send();
또는 JavaScript로:
new FilamentNotification()
    .title('성공적으로 저장되었습니다')
    .success()
    .seconds(5)
    .send()
일부 알림이 자동으로 닫히지 않고 사용자가 직접 닫아야 하도록 하고 싶을 수 있습니다. 이는 알림을 영구적으로 만들어서 달성할 수 있습니다:
use Filament\Notifications\Notification;

Notification::make()
    ->title('성공적으로 저장되었습니다')
    ->success()
    ->persistent()
    ->send();
또는 JavaScript로:
new FilamentNotification()
    .title('성공적으로 저장되었습니다')
    .success()
    .persistent()
    .send()
본문 텍스트 설정하기
추가적인 알림 텍스트는 body()에 표시할 수 있습니다:
use Filament\Notifications\Notification;

Notification::make()
    ->title('성공적으로 저장되었습니다')
    ->success()
    ->body('게시글에 대한 변경 사항이 저장되었습니다.')
    ->send();
본문 텍스트에는 기본적이고 안전한 HTML 요소를 포함할 수 있습니다. Markdown으로 안전한 HTML을 생성하려면 Str::markdown() 헬퍼를 사용할 수 있습니다: body(Str::markdown('Changes to the **post** have been saved.'))
또는 JavaScript로:
new FilamentNotification()
    .title('성공적으로 저장되었습니다')
    .success()
    .body('게시글에 대한 변경 사항이 저장되었습니다.')
    .send()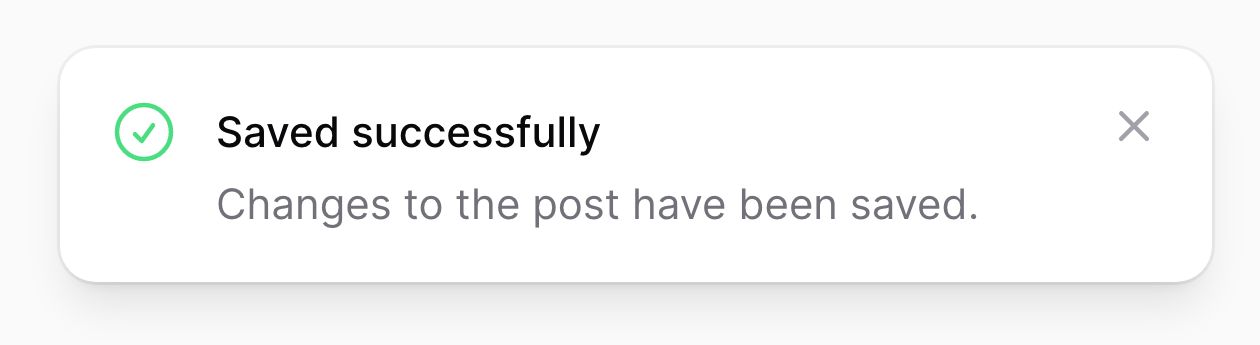
알림에 액션 추가하기
알림은 액션을 지원합니다. 액션은 알림 내용 아래에 렌더링되는 버튼입니다. 이 버튼들은 URL을 열거나 Livewire 이벤트를 디스패치할 수 있습니다. 액션은 다음과 같이 정의할 수 있습니다:
use Filament\Notifications\Actions\Action;
use Filament\Notifications\Notification;

Notification::make()
    ->title('성공적으로 저장되었습니다')
    ->success()
    ->body('게시글에 대한 변경 사항이 저장되었습니다.')
    ->actions([
        Action::make('view')
            ->button(),
        Action::make('undo')
            ->color('gray'),
    ])
    ->send();
또는 JavaScript로:
new FilamentNotification()
    .title('성공적으로 저장되었습니다')
    .success()
    .body('게시글에 대한 변경 사항이 저장되었습니다.')
    .actions([
        new FilamentNotificationAction('view')
            .button(),
        new FilamentNotificationAction('undo')
            .color('gray'),
    ])
    .send()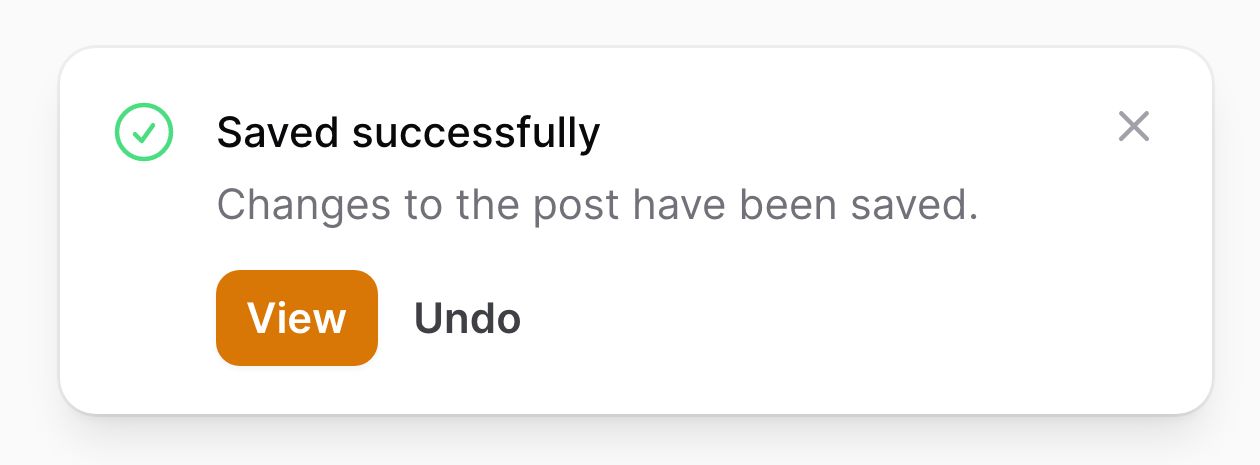
액션 버튼 스타일링 방법에 대해 더 알아보려면 여기를 참고하세요.
알림 액션에서 URL 열기
액션을 클릭할 때 URL을 열 수 있으며, 선택적으로 새 탭에서 열 수도 있습니다:
use Filament\Notifications\Actions\Action;
use Filament\Notifications\Notification;

Notification::make()
    ->title('성공적으로 저장되었습니다')
    ->success()
    ->body('게시글에 대한 변경 사항이 저장되었습니다.')
    ->actions([
        Action::make('view')
            ->button()
            ->url(route('posts.show', $post), shouldOpenInNewTab: true),
        Action::make('undo')
            ->color('gray'),
    ])
    ->send();
또는 JavaScript로:
new FilamentNotification()
    .title('성공적으로 저장되었습니다')
    .success()
    .body('게시글에 대한 변경 사항이 저장되었습니다.')
    .actions([
        new FilamentNotificationAction('view')
            .button()
            .url('/view')
            .openUrlInNewTab(),
        new FilamentNotificationAction('undo')
            .color('gray'),
    ])
    .send()
알림 액션에서 Livewire 이벤트 디스패치하기
때때로 알림 액션이 클릭될 때 추가 코드를 실행하고 싶을 수 있습니다. 이는 액션 클릭 시 디스패치할 Livewire 이벤트를 설정하여 달성할 수 있습니다. 선택적으로 데이터 배열을 전달할 수 있으며, 이 데이터는 Livewire 컴포넌트의 이벤트 리스너에서 파라미터로 사용할 수 있습니다:
use Filament\Notifications\Actions\Action;
use Filament\Notifications\Notification;

Notification::make()
    ->title('성공적으로 저장되었습니다')
    ->success()
    ->body('게시글에 대한 변경 사항이 저장되었습니다.')
    ->actions([
        Action::make('view')
            ->button()
            ->url(route('posts.show', $post), shouldOpenInNewTab: true),
        Action::make('undo')
            ->color('gray')
            ->dispatch('undoEditingPost', [$post->id]),
    ])
    ->send();
또한 dispatchSelf와 dispatchTo도 사용할 수 있습니다:
Action::make('undo')
    ->color('gray')
    ->dispatchSelf('undoEditingPost', [$post->id])

Action::make('undo')
    ->color('gray')
    ->dispatchTo('another_component', 'undoEditingPost', [$post->id])
또는 JavaScript로:
new FilamentNotification()
    .title('성공적으로 저장되었습니다')
    .success()
    .body('게시글에 대한 변경 사항이 저장되었습니다.')
    .actions([
        new FilamentNotificationAction('view')
            .button()
            .url('/view')
            .openUrlInNewTab(),
        new FilamentNotificationAction('undo')
            .color('gray')
            .dispatch('undoEditingPost'),
    ])
    .send()
마찬가지로, dispatchSelf와 dispatchTo도 사용할 수 있습니다:
new FilamentNotificationAction('undo')
    .color('gray')
    .dispatchSelf('undoEditingPost')

new FilamentNotificationAction('undo')
    .color('gray')
    .dispatchTo('another_component', 'undoEditingPost')
액션에서 알림 닫기
액션에서 URL을 열거나 이벤트를 디스패치한 후, 즉시 알림을 닫고 싶을 수 있습니다:
use Filament\Notifications\Actions\Action;
use Filament\Notifications\Notification;

Notification::make()
    ->title('성공적으로 저장되었습니다')
    ->success()
    ->body('게시글에 대한 변경 사항이 저장되었습니다.')
    ->actions([
        Action::make('view')
            ->button()
            ->url(route('posts.show', $post), shouldOpenInNewTab: true),
        Action::make('undo')
            ->color('gray')
            ->dispatch('undoEditingPost', [$post->id])
            ->close(),
    ])
    ->send();
또는 JavaScript로:
new FilamentNotification()
    .title('성공적으로 저장되었습니다')
    .success()
    .body('게시글에 대한 변경 사항이 저장되었습니다.')
    .actions([
        new FilamentNotificationAction('view')
            .button()
            .url('/view')
            .openUrlInNewTab(),
        new FilamentNotificationAction('undo')
            .color('gray')
            .dispatch('undoEditingPost')
            .close(),
    ])
    .send()
JavaScript 객체 사용하기
JavaScript 객체(FilamentNotification 및 FilamentNotificationAction)는 window.FilamentNotification 및 window.FilamentNotificationAction에 할당되어 있으므로, 페이지 내 스크립트에서 사용할 수 있습니다.
또한 번들된 JavaScript 파일에서 임포트할 수도 있습니다:
import { Notification, NotificationAction } from '../../vendor/filament/notifications/dist/index.js'

// ...
JavaScript로 알림 닫기
알림이 전송된 후, 브라우저의 window에서 close-notification이라는 이벤트를 디스패치하여 필요할 때 알림을 닫을 수 있습니다.
이 이벤트에는 전송한 알림의 ID가 포함되어야 합니다. ID를 얻으려면 Notification 객체의 getId() 메서드를 사용할 수 있습니다:
use Filament\Notifications\Notification;

$notification = Notification::make()
    ->title('Hello')
    ->persistent()
    ->send()

$notificationId = $notification->getId()
알림을 닫으려면 Livewire에서 이벤트를 디스패치할 수 있습니다:
$this->dispatch('close-notification', id: $notificationId);또는 JavaScript, 이 경우 Alpine.js에서:
<button x-on:click="$dispatch('close-notification', { id: notificationId })" type="button">
    알림 닫기
</button>
알림 ID를 가져와서 저장한 후 이를 사용해 알림을 닫을 수 있다면, 이는 권장되는 방법입니다. ID는 고유하게 생성되므로 잘못된 알림이 닫히는 위험이 없습니다. 그러나 무작위 ID를 저장할 수 없는 경우, 알림을 보낼 때 사용자 지정 ID를 전달할 수 있습니다:
use Filament\Notifications\Notification;

Notification::make('greeting')
    ->title('Hello')
    ->persistent()
    ->send()
이 경우, 사용자 지정 ID로 이벤트를 디스패치하여 알림을 닫을 수 있습니다:
<button x-on:click="$dispatch('close-notification', { id: 'greeting' })" type="button">
    알림 닫기
</button>
동일한 ID로 여러 알림을 보내면 예기치 않은 부작용이 발생할 수 있으므로, 무작위 ID 사용을 권장합니다.